Getting Started- Permissions and Access (Click to Expand)
First Time Accessing and Downloading Panopto
If the Panopto tool is not available in the left-hand toolbar, it will need to be added to the course site.
1. Login to iLearn and access your desired course site.
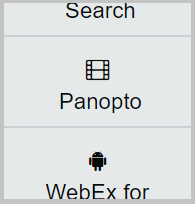
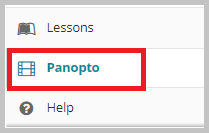
2. Click Panopto in the left-hand toolbar .
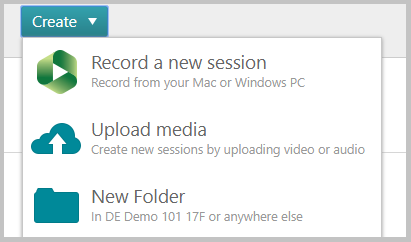
3. Click Create, Record a New Session.
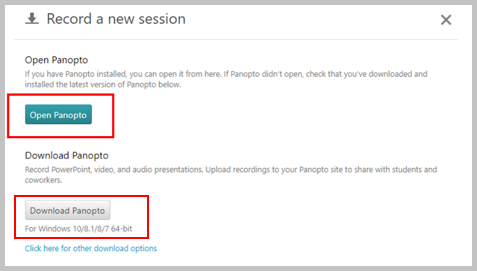
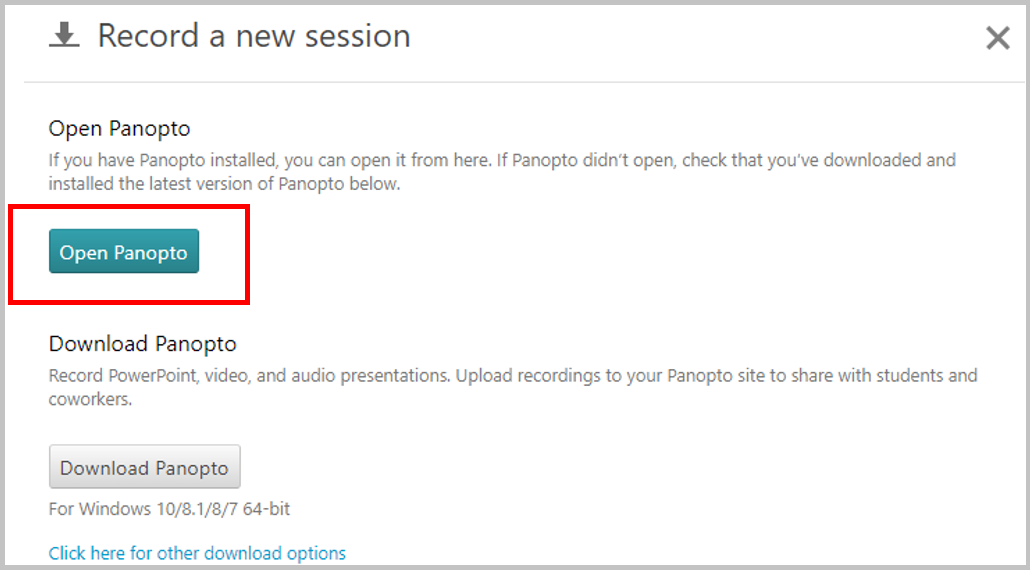
4. Click Open Panopto. If Panopto does not open, it must be downloaded.
5. Click Download Panopto and follow the instructions. The process is similar to downloading other programs and software onto your device. Downloading Panopto it required only once per device.
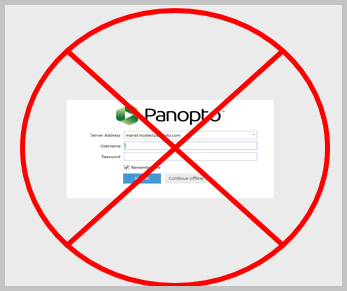
6. As Panopto finishes downloading, it may ask for login information. DO NOT LOGIN!
7. After downloading Panopoto for the first time, click Open Panopto to begin recording.
8. Click Open Panopto Recorder.

Editing Folder Permissions for Panopto Recordings
Any permission adjustments made to the folder will apply to all recordings made and stored within it. Any future recordings will inherit these settings if placed in this folder.
Allowing access to Panopto recordings is useful when you want others to see your ideas and creations. There are a few options for doing so, however we advise you to either choose Specific People or Anyone with the Link.
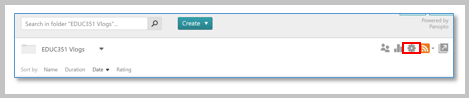
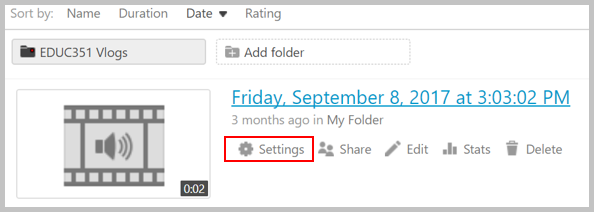
1. Once in your desired folder in Panopto, click the gear icon to access the settings.
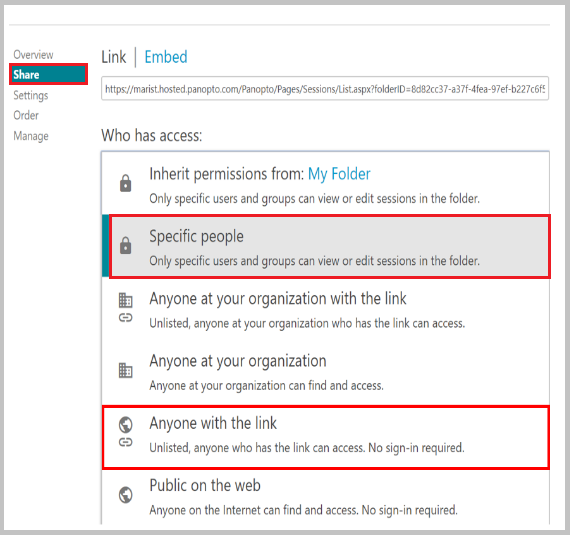
2. Click Share. By default, anyone who has access to your iLearn site, including professors and students, can view your recordings. Click Who Can Access: Specific People to change this setting.
3. Select Anyone with the Link to ensure professors and students can only view your recordings if provided with the link.
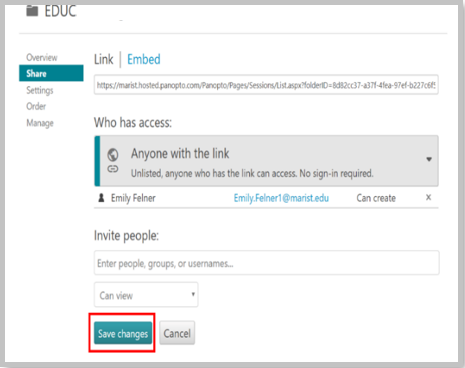
4. Click Save Changes and close the window.
Creating a Folder in Panopto for your students to upload videos to the course
In the event you would like to set up a Panopto Folder for students to upload videos to your site, please follow the steps below.
1. From within the course folder in Panopto, click Add Folder.

2. Name the folder according to what content will be placed within. Hit Enter to create the folder.

2a. You can also create a folder by clicking Create, and then clicking New Folder.
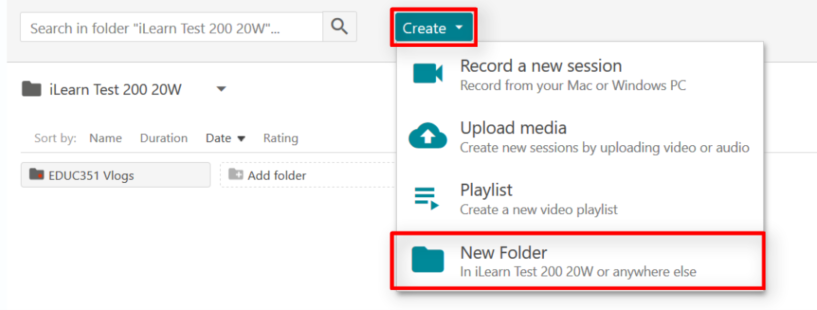
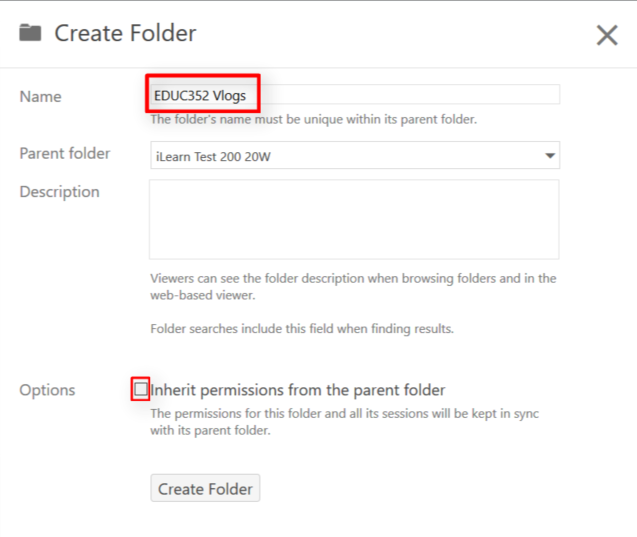
2b. Name the folder, and uncheck the box next to "Inherit permissions from the parent folder". Click Create Folder.
2c. Once you have created the folder, you will be brought to the Share Settings page. (If you create your folder using 2a-2c, skip step 3).
3. Click on the folder, and then go to Share Settings.

4. Set the folder permissions to be Specific People
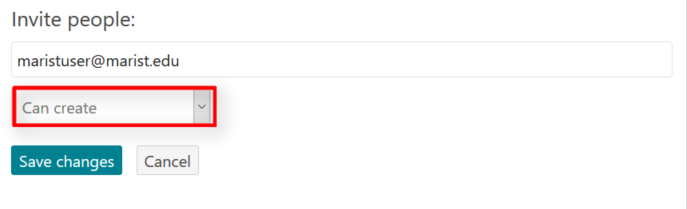
5. Add the students from your course as "Creators" using the "Invite People" box.
5a. When you add people to the folder as creators, you can choose to send them an email notification. Note that the Send and Save Changes button will not appear until a user has been placed in the invite people box. Note: If a student's CWID appears in red, have them open Panopto by clicking on the tool in your iLearn site and then you can add them again.
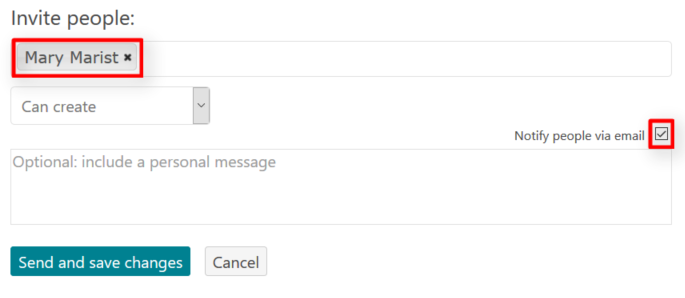
5b. Once you are finished, click Save Changes.
6. Students should now be able to view the folder within the Panopto Tool and upload media to it.
Using Panopto to Record or Upload (Click to Expand)
Creating a New Panopto Recording
1. Go to the folder you would like to video to be uploaded to. To begin recording using Panopto, click Create and select Record A New Session.

2. A pop-up will be presented. Click Open Panopto Recorder. Below is a list of buttons and features as well as what they do.
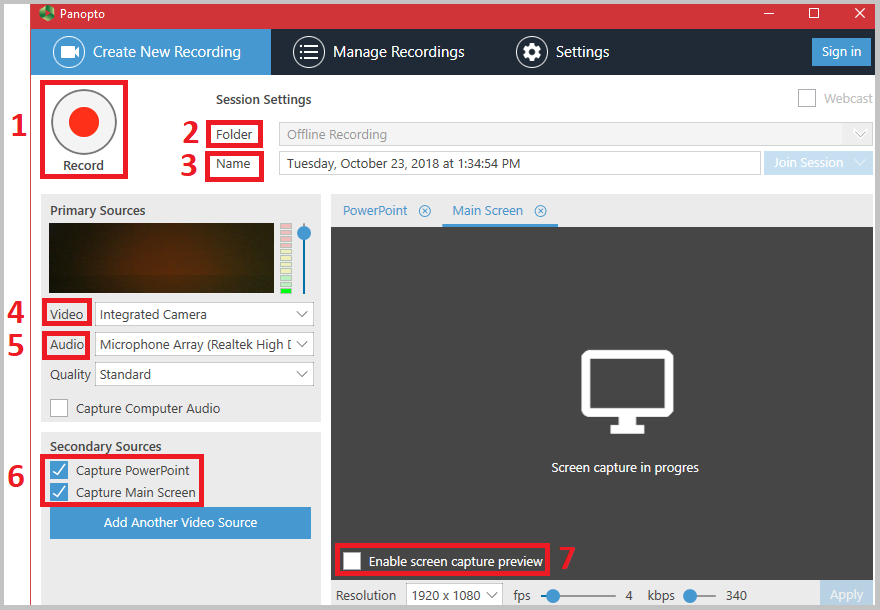
(1)Press to begin recording
(2)Select the folder to which you wish to save your recording
(3)Rename your recording to enhance organization
(4)Select if you want to include video in your recording. If not, select "None".
(5)Select if you want to include audio in your recording. If not, select "None".
(6)Choose if you want to capture an open PowerPoint or the current screen during your recording. If neither are selected, the view from the webcam will be captured.
(7)If you are including screen capturing in your recording, check this box to see a preview of what you are capturing on your screen as you record.
NOTE: If recording only video input using your webcam, be sure to remove secondary sources such as screen capture and PowerPoint so that only your video is captured.
Managing Panopto Recordings
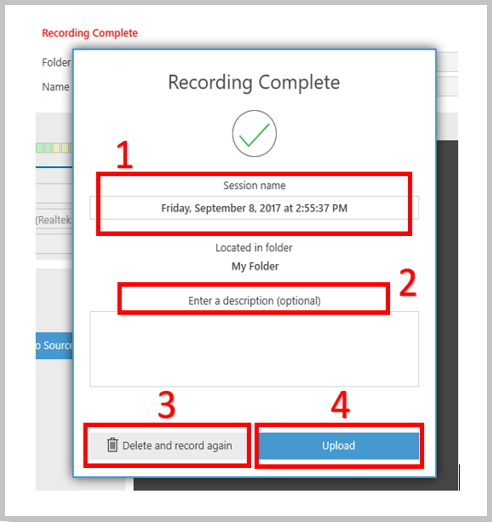
This window will automatically appear when you stop recording. You are able to:
(1)Edit the name of the recording
(2)Add a description of the recording
(3)Discard the recording
(4)Upload the recording
After you click Upload, you will be redirected to the Manage Recordings page of Panopto. You can also access this page to manage your recordings at a later date by clicking Manage Recordings within the Panopto recorder. When the video is listed as "in progress" or "publishing," you may close this screen.
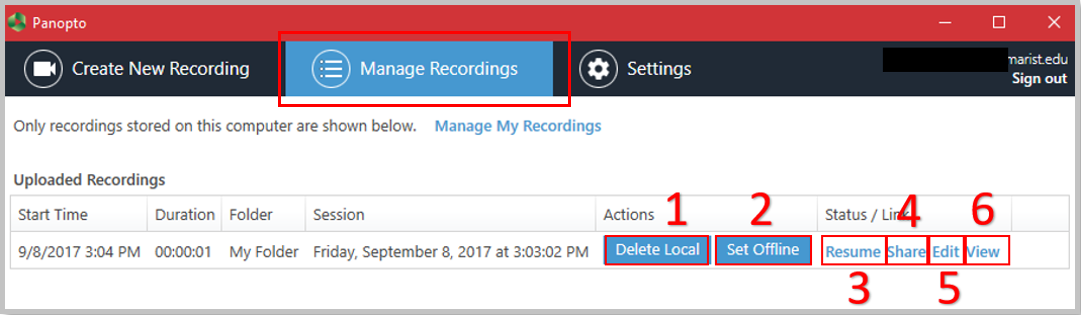
Uploading a recording will bring you directly to Manage Recordings. For each uploaded recording, you can:
(1)Delete this recording on your device
(2)Set this recording offline to remove it from the server
(3)Resume recording
(4)Share the recording
(5)Edit the recording
(6)View the recording
Uploading Media to Panopto
If you've created a video or audio file using another program (not Panopto), you can upload it to Panopto very easily to manage that media.
1. Click Create and select Upload media.

2. You can either drag or drop video or audio files or you can upload them from your computer directly.
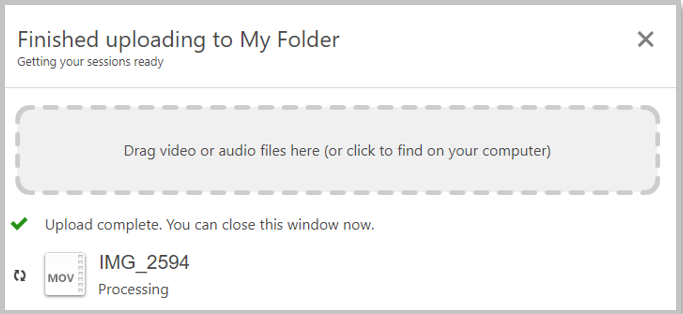
3. Once the video or audio file has been uploaded, you can close the window, and the file will appear under the folder you have chosen to upload it to.
Sharing Panopto Recordings (Click to Expand)
Sharing Link to a Panopto Recording
In order to share a Panopto recording through a link, you need to have adjusted the recording permissions to Anyone with the Link.
To access the link after adjusting the recording's permissions, do the following:
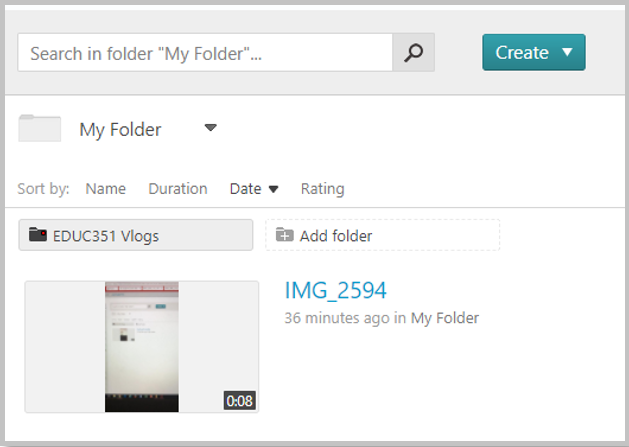
1. Access your desired recording within the folder in which it was created. Hover your mouse over the desired recording and click Settings.
2. Copy the provided link and share it with desired viewers.
PLEASE NOTE: If you share a link to a recording and have not adjusted the permissions to Anyone with the Link, the recipient of the link will have to request access to view the recording. Another option for allowing others to access recordings is Specific People, which allows you to choose individuals with which to share your recordings.
Downloading a Panopto Recording to a Device
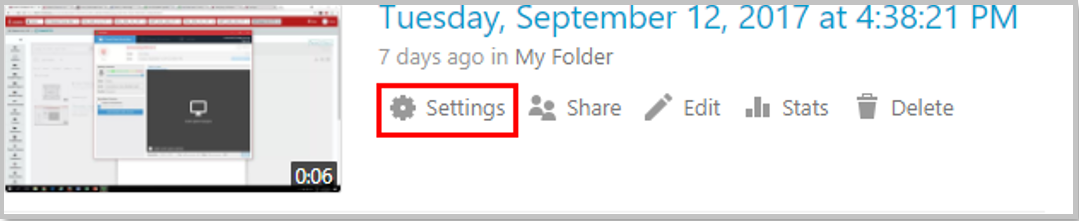
1. Go to the Panopto tool and click the Settings button on the recording you'd like to download.
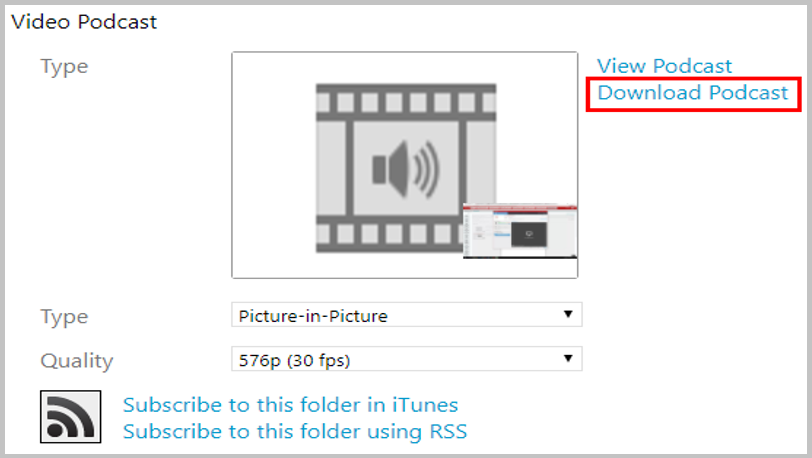
2. Click Outputs.
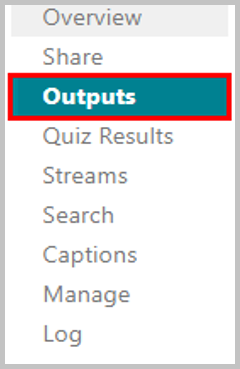
On the Outputs page, go to Video Podcast and click Download Podcast.
Embedding Panopto from iLearn Tools (Click to Expand)
Using Rich Text Editor to Embed Panopto Recordings
The most efficient method for embedding a Panopto recording in iLearn is to use the Rich Text Editor. Use the following instructions to embed a Panopto recording in iLearn:
-
Go to Panopto Tool in your course site.
-
Go to the video you want to embed and click “Share.”
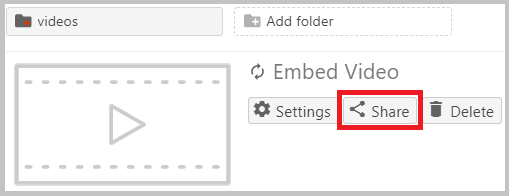
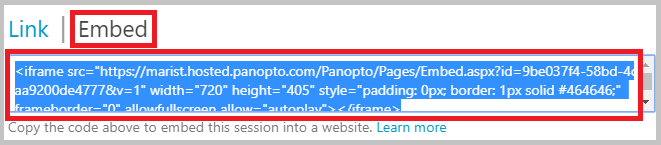
-
Then, click on “Embed” option and copy the code displayed.
-
Now, Select Lessons tool from the tool menu in your course site.
-
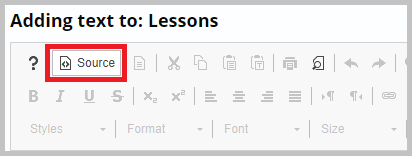
Click on “Add Content” and then click “Add Text”.
-
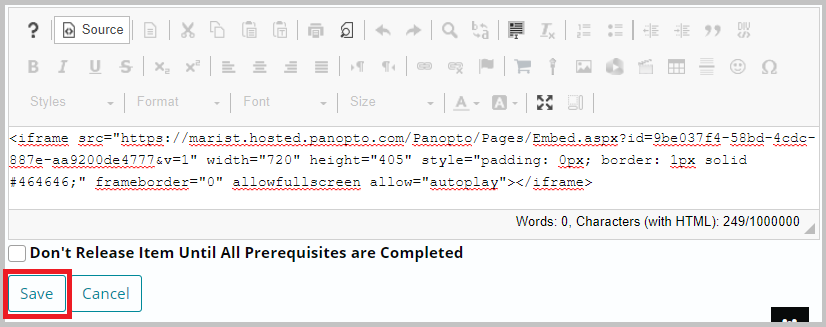
This opens Rich Text Editor. Click on “Source” to embed the panopto video.
-
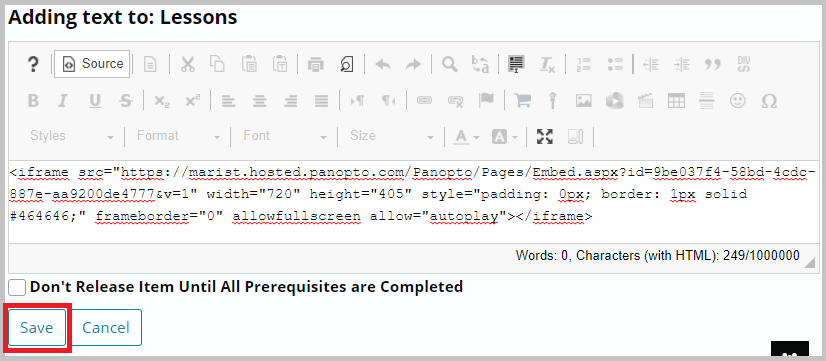
Paste the code you copied from Panopto tool and Click “Save.”
-
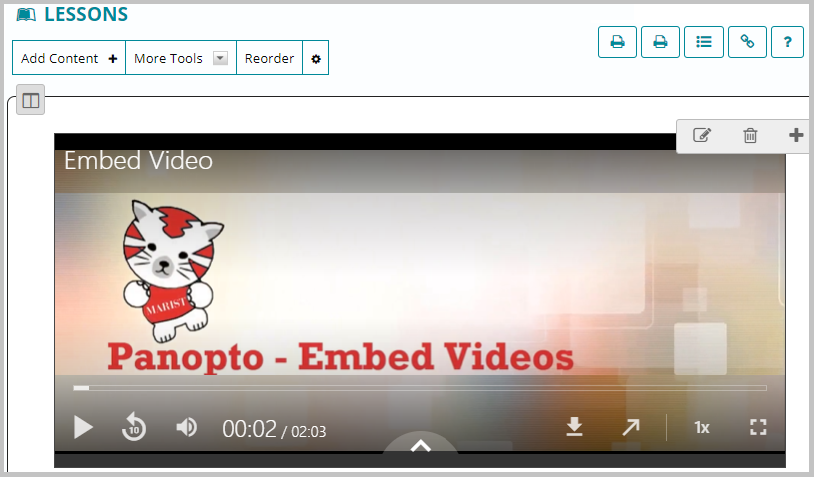
You can now view the video in your Lessons tool.
Instructor Options for Student Submissions (Click to Expand)
Assignments
In order for students to be able to embed Panopto recordings in the iLearn Assignments tool, instructors must do the following:
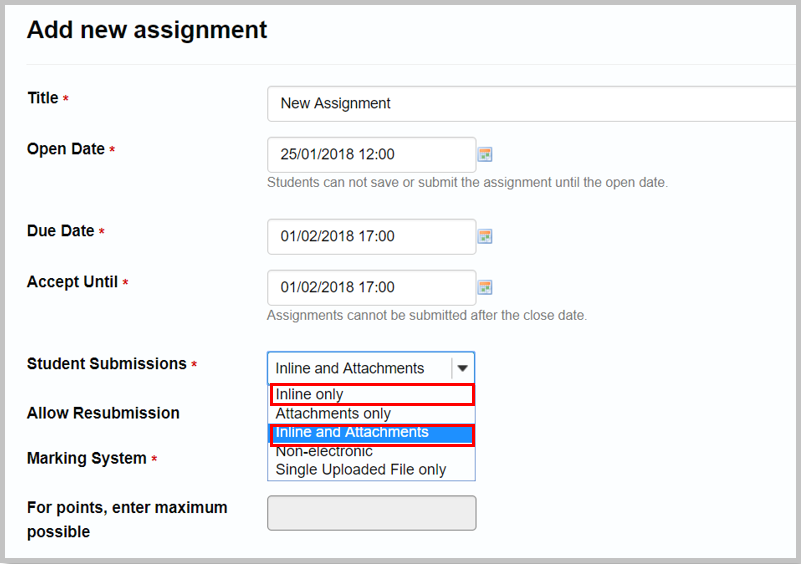
1. Access the Settings of the iLearn Assignment you wish to allow students to embed Panopto recordings in.
2. Be sure to select Inline only or Inline and Attachments under Student Submissions.
3. Follow the instructions below to embed a video.
Go to Panopto Tool in your course site.
4. Go to the video you want to embed and click “Share.”
5. Then, click on “Embed” option and copy the code displayed.
6. Click on “Source” to embed the panopto video.

7. Paste the code you copied from Panopto tool and Click “Save.”
8. You can now view the video in your Assignments tool.
Student Pages
It is the instructor's responsibility to provide students with a place in which they can submit their vlogs. Creating Student Pages in the Lessons tool of iLearn allows students to submit their vlogs efficiently and maintains organization. Do the following to enable students to create their own pages within the Lessons tool.
1. Access the Lessons tool in your desired iLearn course site.
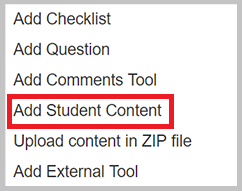
2. Click Add Content.

3. Click Add Student Content.
4. Students can then create their own page and upload or embed media.