iLearn Documentation: Panopto
Panopto is the Marist version of Youtube. It enables professors and students of Marist to record and upload recordings through the iLearn system and have more control over who has access to them. With Panopto, you have the option to share recordings publicly, but it is not necessary. Professors and students are able to record and share recordings more privately and efficiently. Professors are able to record and embed videos in course content and lessons, while students are able to record and upload recordings (i.e. vlogs) to iLearn to share with professors or other students.
In Panopto, there is a folder titled, "Getting Started with Panopto." It is full of tutorials regarding the features of this tool and how to use them. Refer to these tutorials and the following documentation as you explore and navigate this useful tool.
This video includes an overview of the Panopto tool, including information on how to create a folder and adjust its permissions, as well as recording and uploading videos
Getting Started- Permissions and Access (Click to Expand)
First Time Accessing and Downloading Panopto
If the Panopto tool is not available in the left-hand toolbar, it will need to be added to the course site.
1. Login to iLearn and access your desired course site.
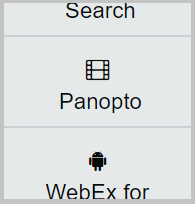
2. Click Panopto in the left-hand toolbar .
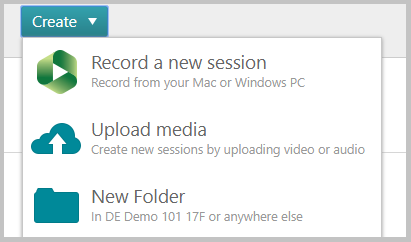
3. Click Create, Record a New Session.
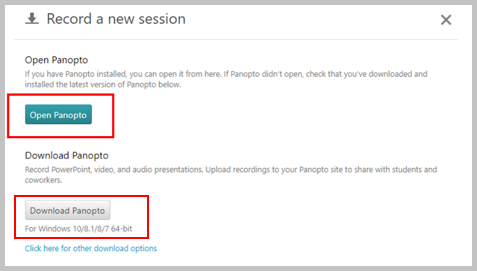
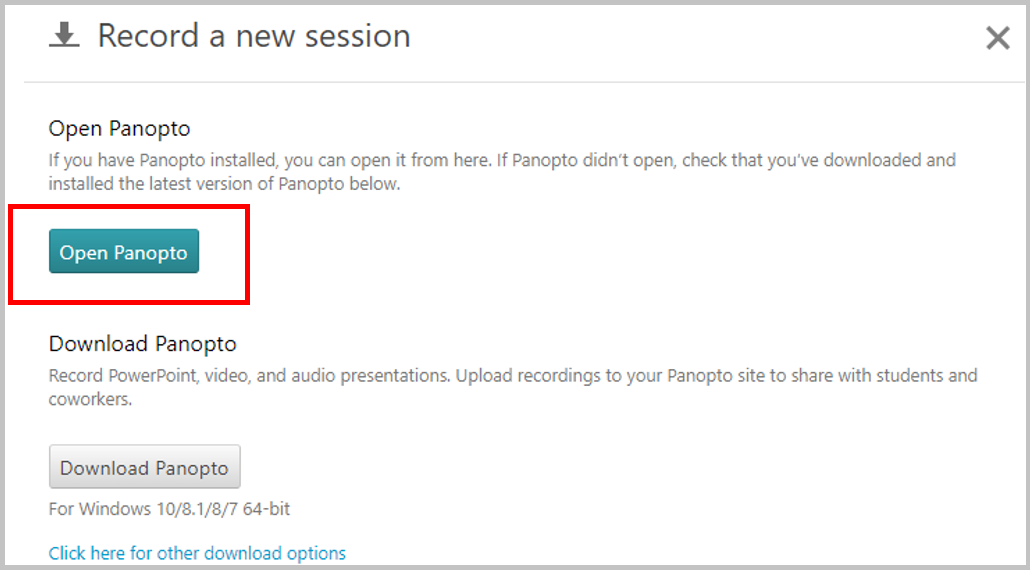
4. Click Open Panopto. If Panopto does not open, it must be downloaded.
5. Click Download Panopto and follow the instructions. The process is similar to downloading other programs and software onto your device. Downloading Panopto it required only once per device.
6. As Panopto finishes downloading, it may ask for login information. DO NOT LOGIN!
7. Simply exit the login window and click Open Panopto to begin recording.
8. Click Open Panopto Recorder.

Creating a Folder in Panopto
Before recording using Panopto, create a folder within "My Folder" to store and access your recordings for a course. Always use this folder to create and store recordings to avoid access issues.
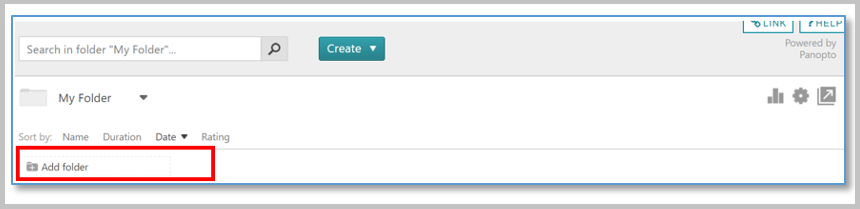
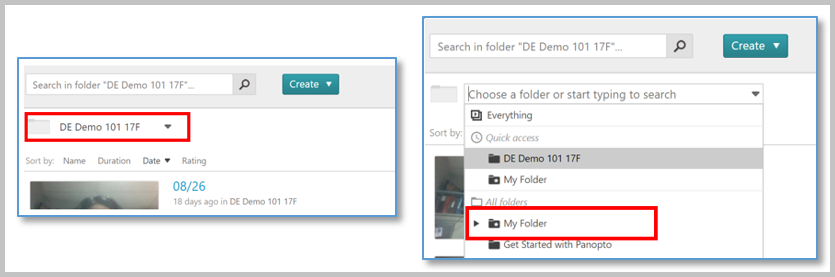
1. Click the name of your course. In the drop-down menu, click My Folder.
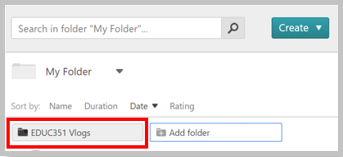
2. Click Add Folder.
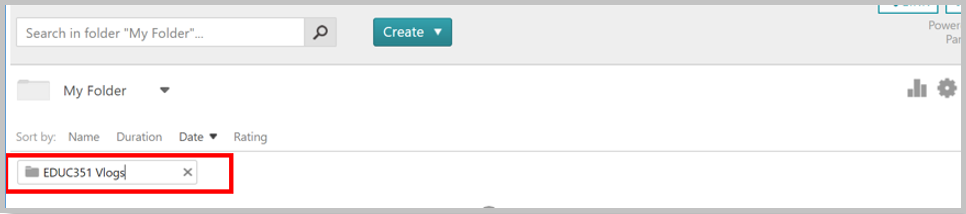
3. Name the folder according to your course name and its contents (ex. EDUC351 Vlogs). Click the name of the folder you just created to access it.
Editing Folder Permissions for Panopto Recordings
Any permission adjustments made to the folder will apply to all recordings made and stored within it. Any future recordings will inherit these settings if placed in this folder.
Allowing access to Panopto recordings is useful when you want others to see your ideas and creations. There are a few options for doing so, however we advise you to either choose Specific People or Anyone with the Link.
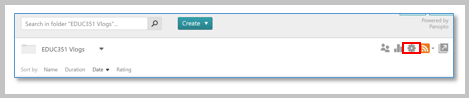
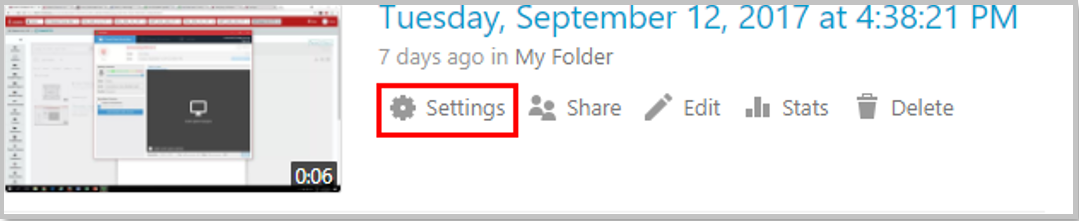
1. Once in your desired folder in Panopto, click the gear icon to access the settings.
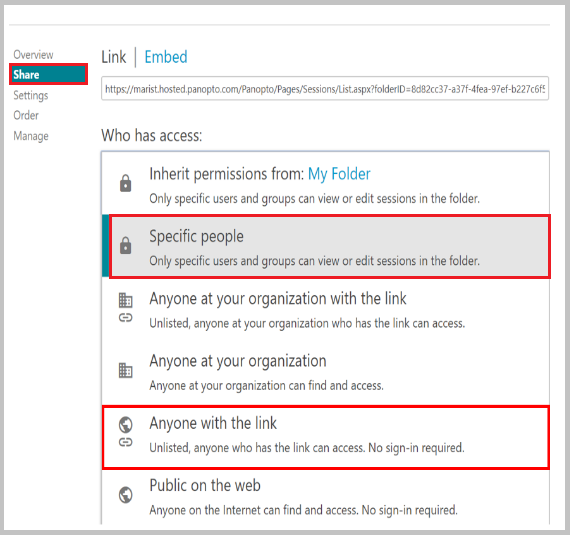
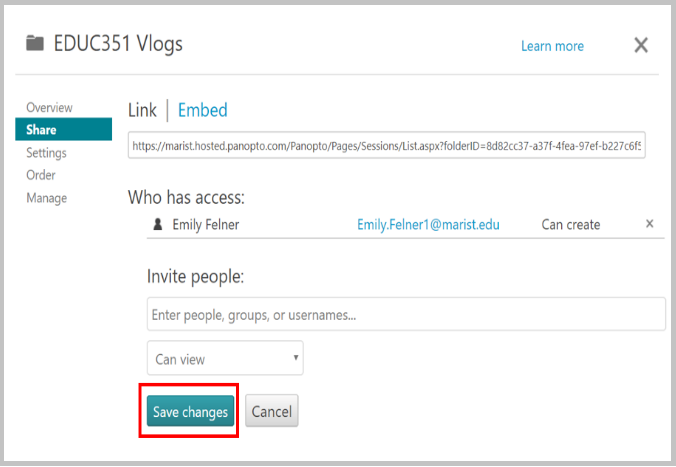
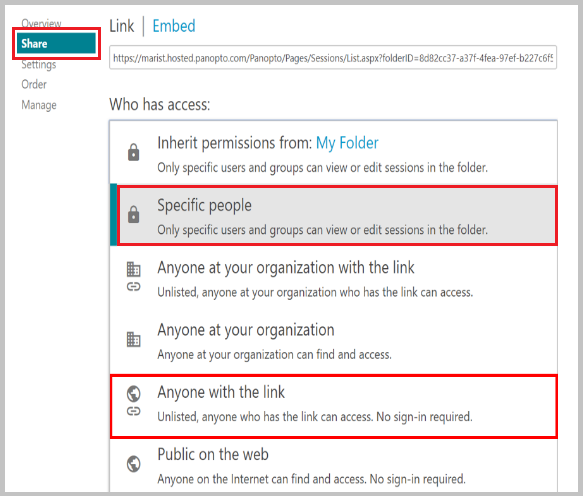
2. Click Share. By default, anyone who has access to your iLearn site, including professors and students, can view your recordings. Click Who Can Access: Specific People to change this setting.
3. Select Anyone with the Link to ensure professors and students can only view your recordings if provided with the link.
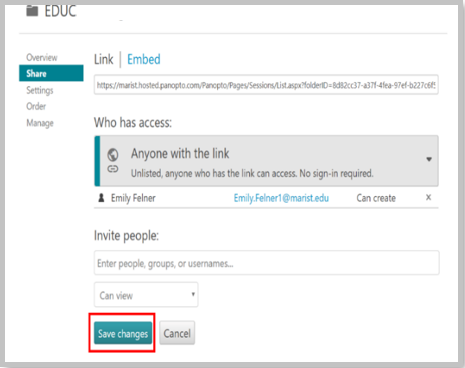
4. Click Save Changes and close the window.
Accessing Panopto Folders and Recordings
It is best to always navigate to the folder you created in Panopto to enhance organization as you create and save future recordings.
1. To access the folder you created, click the name of your course. In the drop-down menu, click My Folder.
2. Click the name of the folder you created for your course.
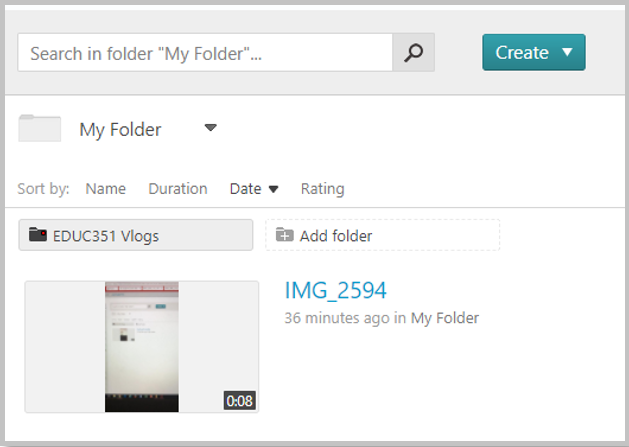
3. In your folder, you will be able to:
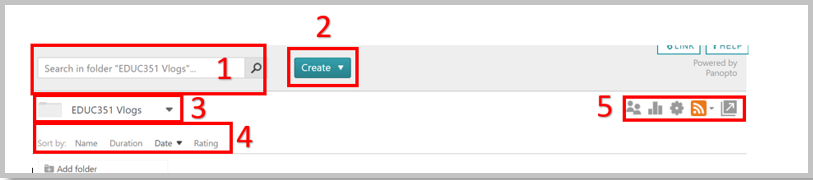
(1)Use the Search Bar to easily find recordings within each folder
(2)Create a:
New recording session
New session using uploaded media
New folder to organize your recordings'
(3)Access your personal folders and those that you have permission to view
(4)Sort recordings by name, duration, date, or rating
(5)Access viewer statistics and other settings
Using Panopto to Record or Upload (Click to Expand)
Creating a New Panopto Recording
1. Access the appropriate folder you created for a course. To begin recording using Panopto, click Create and select Record A New Session.

2. A pop-up will be presented. Click Open Panopto Recorder.
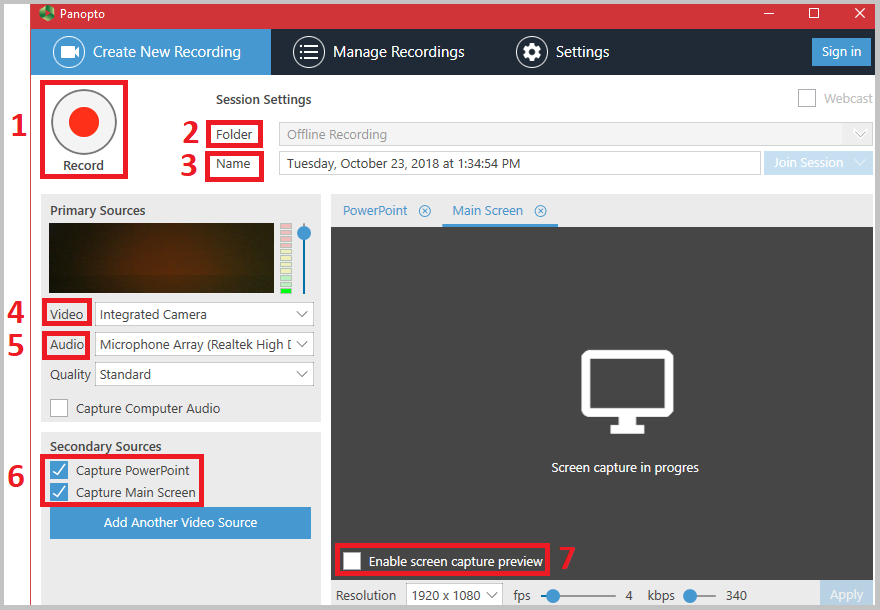
(1)Press to begin recording
(2)Select the folder to which you wish to save your recording
(3)Rename your recording to enhance organization
(4)Select if you want to include video in your recording. If not, select "None".
(5)Select if you want to include audio in your recording. If not, select "None".
(6)Choose if you want to capture an open PowerPoint or the current screen during your recording. If neither are selected, the view from the webcam will be captured.
(7)If you are including screen capturing in your recording, check this box to see a preview of what you are capturing on your screen as you record.
NOTE: If recording only video input using your webcam, be sure to remove secondary sources such as screen capture and PowerPoint so that only your video is captured.
Managing Panopto Recordings
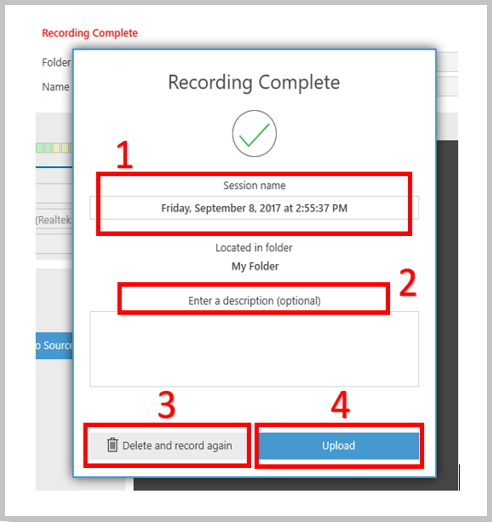
This window will automatically appear when you stop recording. You are able to:
(1)Edit the name of the recording
(2)Add a description of the recording
(3)Discard the recording
(4)Upload the recording
After you click Upload, you will be redirected to the Manage Recordings page of Panopto. You can also access this page to manage your recordings at a later date by clicking Manage Recordings within the Panopto recorder.
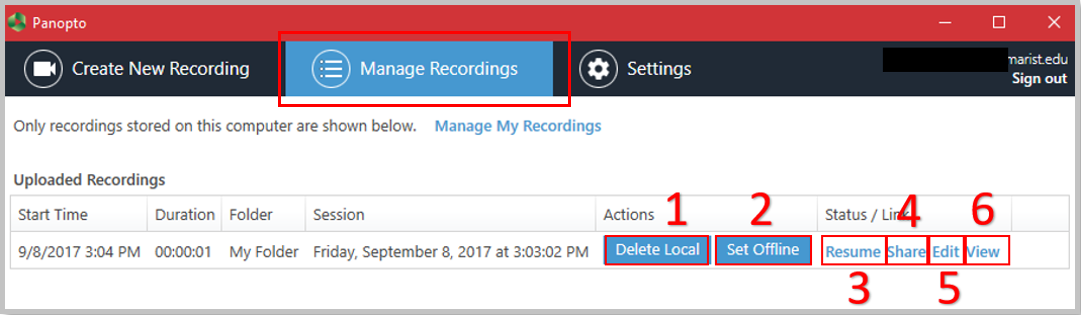
Uploading a recording will bring you directly to Manage Recordings. For each uploaded recording, you can:
(1)Delete this recording
(2)Set this recording offline to remove it from the server
(3)Resume recording
(4)Share the recording
(5)Edit the recording
(6)View the recording
Uploading Media to Panopto
If you have already created a video or audio file, you can upload it to Panopto very easily to manage that media.
1. Click Create and select Upload media.

2. You can either drag or drop video or audio files or you can upload them from your computer directly.
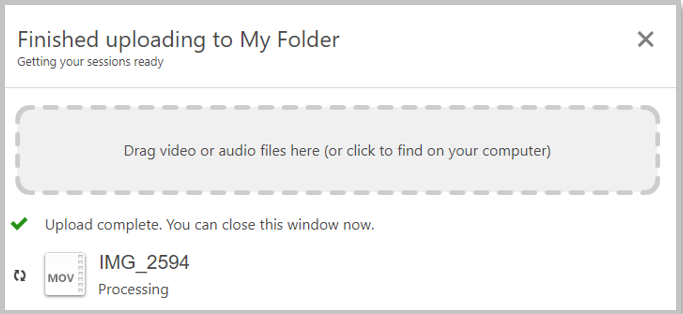
3. Once the video or audio file has been uploaded, you can close the window, and the file will appear under the folder you have chosen to upload it to.
Sharing Panopto Recordings (Click to Expand)
Editing Individual Panopto Recording Permissions
To edit the permissions for individual Panopto recordings, do the following:
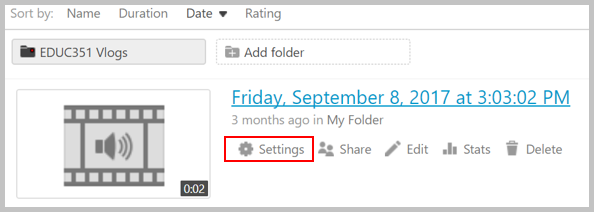
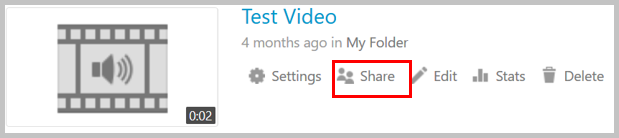
1. Access your desired recording within the folder in which it was created. Hover your mouse over the desired recording and click Settings.
2. Click Share. Click Who Can Access: to change this setting who can access the recording.
3. Click Save Changes and close the window.
Sharing Link to Individual Panopto Recording
In order to share a Panopto recording through a link, you need to have adjusted the recording permissions to Anyone with the Link.
To access the link after adjusting the recording's permissions, do the following:
1. Access your desired recording within the folder in which it was created. Hover your mouse over the desired recording and click Settings.
2. Copy the provided link and share it with desired viewers.
PLEASE NOTE: If you share a link to a recording and have not adjusted the permissions to Anyone with the Link, the recipient of the link will have to request access to view the recording. Another option for allowing others to access recordings is Specific People, which allows you to choose individuals with which to share your recordings.
Downloading a Panopto Recording to a Device
1. Go to the Panopto tool and click the Settings button on the recording you'd like to download.
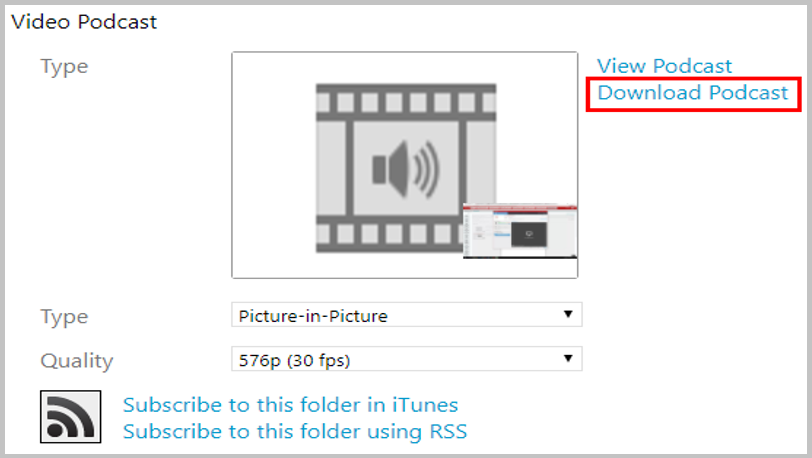
2. Click Outputs.
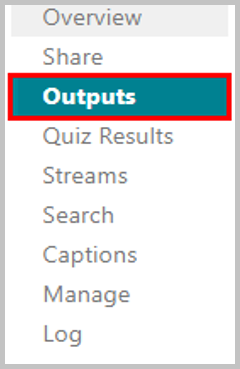
On the Outputs page, go to Video Podcast and click Download Podcast.
Accessing Panopto from iLearn Tools (Click to Expand)
Using Rich Text Editor to Embed Panopto Recordings
The most efficient method for embedding a Panopto recording in iLearn is to use the Rich Text Editor. Use the following instructions to embed a Panopto recording in iLearn:
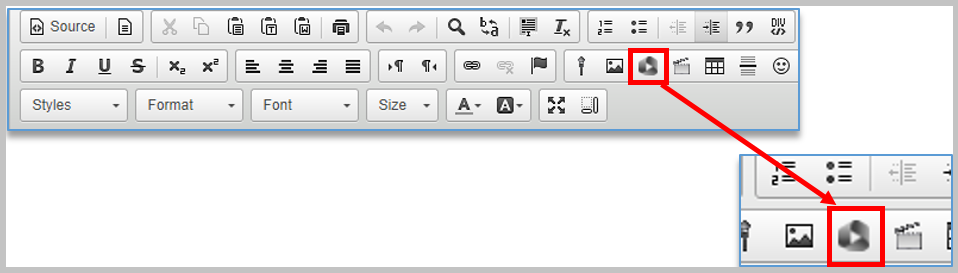
1. Access the Rich Text Editor and click the Panopto icon.

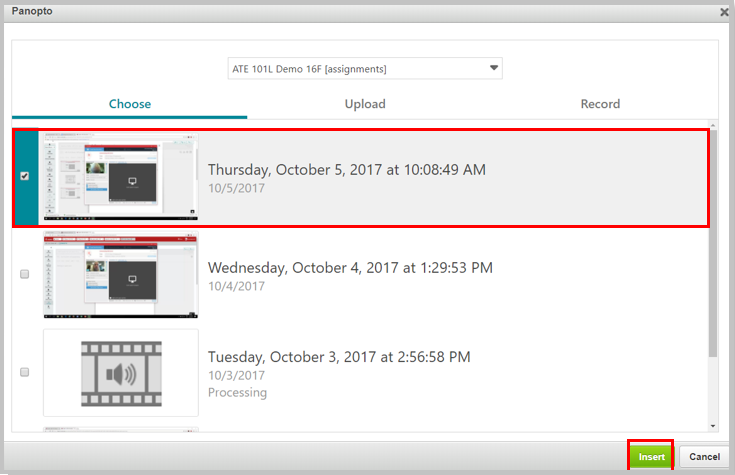
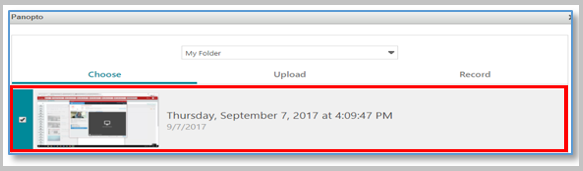
2. Select recording(s) you wish to embed and click Insert.
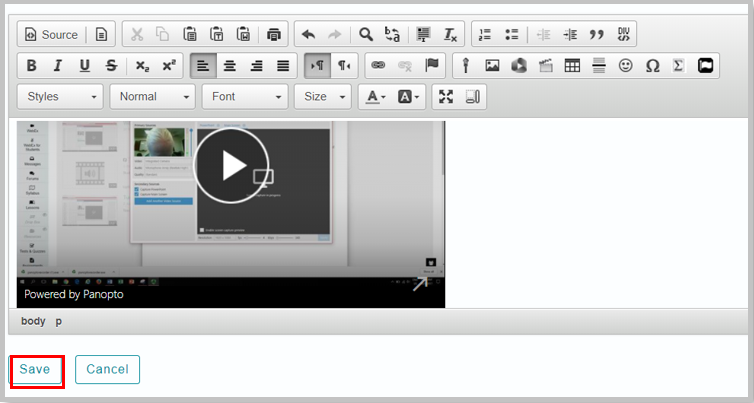
3. Click Save to embed the Panopto recording(s).
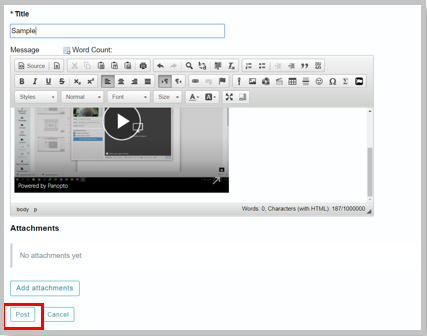
Embedding Panopto Recordings in Forums
There is the option of embedding Panopto recordings in the iLearn Forums tool. To do so efficiently, use the Rich Text Editor and follow the instructions below:
1. Access the Forum to which you would like to respond. 
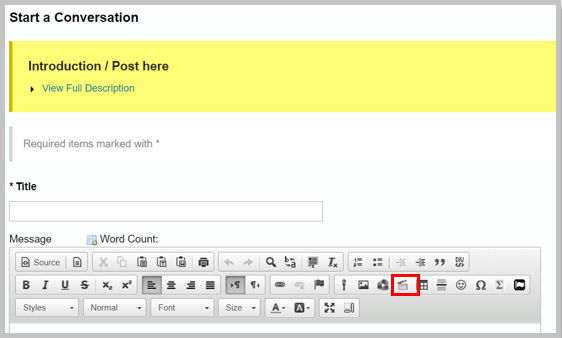
2. In the Rich Text Editor, click the Panopto icon.
3. Select recording(s) you wish to embed in the Forum and click Insert.
4. Click Post to submit the embedded Panopto recording(s) to the Forum.
Embedding Panopto Recordings in Assignments
The option to embed a Panopto recording in an assignment you submit to the iLearn Assignments tool is available. To do so efficiently, use the Rich Text Editor and follow the instructions below:
1. Access the assignment on iLearn where you wish to submit a Panopto recording.
2. In the Rich Text Editor, click the Panopto icon.
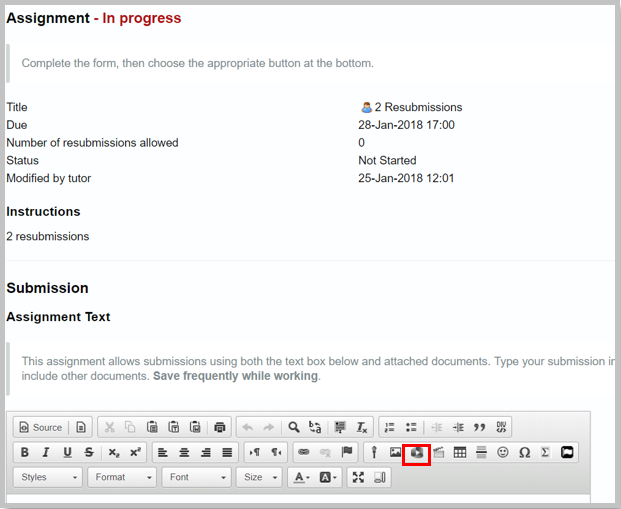
3. Select recording(s) you wish to embed in the Assignment and click Insert.
4. Click Submit to submit the embedded Panopto recording(s) to the Assignment.
Embedding Panopto Recordings in Lessons or Assignments
After setting up a personal Student Page, content, such as vlogs, can be added directly to it. Do the following to embed or link a vlog on a Student Page:
For assistance creating a recording using Panopto, please review the Panopto Documentation.
NOTE: Your recording should be set to "Anyone with the link" (unlisted), as per the Editing Folder Permissions for Panopto Recordings and Sharing Link to Individual Panopto Recording documentation, to allow your professor to view it. Click "Share" to edit these permissions if you haven't already.
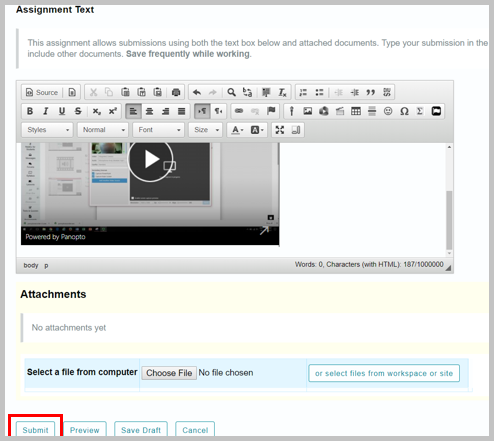
1. Navigate to the page where you wish to add Panopto content or to the appropriate assignment.
2. If using lessons, Click Add Content, then Add Text. If using assignments, continue to the next step.
3. Click the Panopto icon in the Rich Text Editor.
4. Select the folder where you originally created or uploaded the desired recording, then select your desired recording to embed it.
5. Click Save.
Instructor Options for Student Submissions (Click to Expand)
Assignments
In order for students to be able to embed Panopto recordings in the iLearn Assignments tool, instructors must do the following:
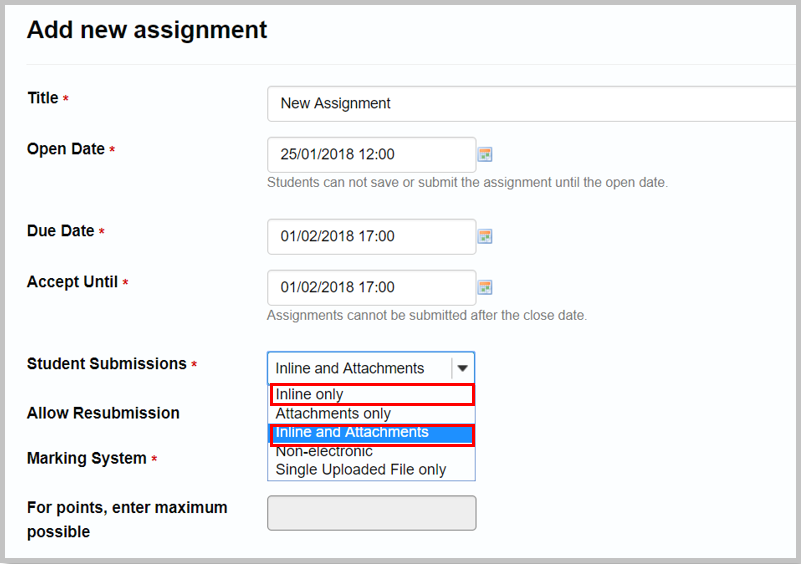
1. Access the Settings of the iLearn Assignment you wish to allow students to embed Panopto recordings in.
2. Be sure to select Inline only or Inline and Attachments under Student Submissions.
3. Students can then follow the embed instructions to embed a video into the text editor when submitting their assignment using the Panopto icon.

Student Pages
It is the instructor's responsibility to provide students with a place in which they can submit their vlogs. Creating Student Pages in the Lessons tool of iLearn allows students to submit their vlogs efficiently and maintains organization. Do the following to enable students to create their own pages within the Lessons tool.
1. Access the Lessons tool in your desired iLearn course site.
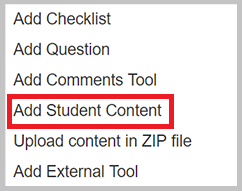
2. Click Add Content.

3. Click Add Student Content.