How To: Embedding Images in Rich Text Editor
Uploading and embedding images from the Rich Text Editor allows you and your students to view an image of your choice. It can be used in site tools like Announcements, Messages, Discussions, Lessons, and any other tools that have Rich Text Editor.
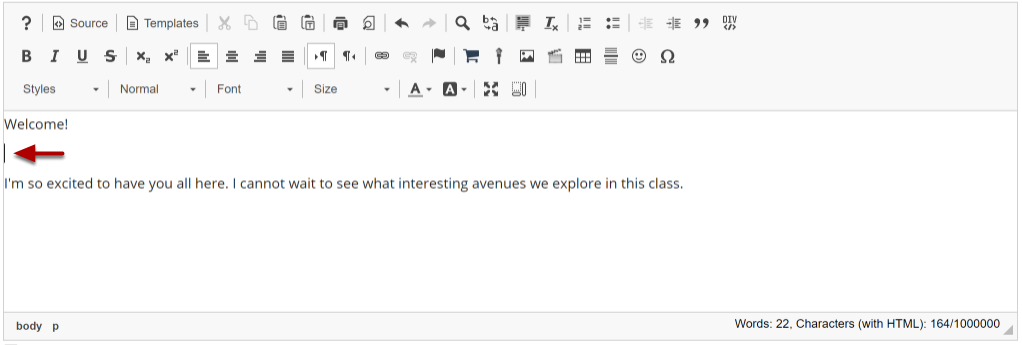
First, position your cursor in the text box at the point you want to embed the image.
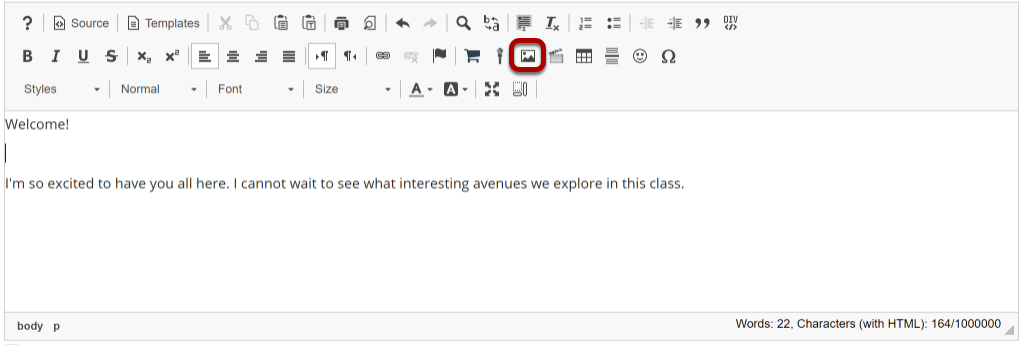
Click on the Insert/Edit Image icon.
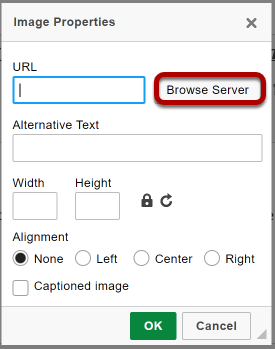
This displays the image properties dialog box.
Click Browse Server.
Upload the image file.
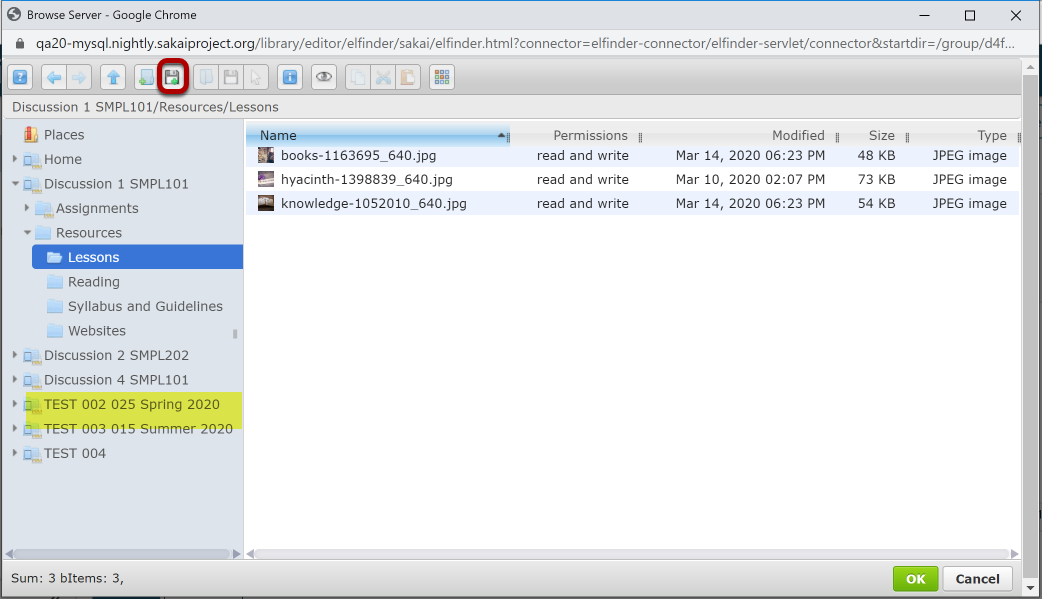
Select the folder where you want to store the image file (i.e., Resources or Lessons) then click on the upload file icon.
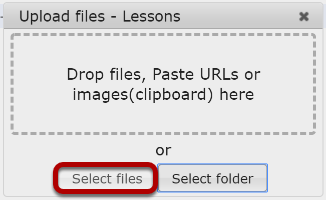
Drop files or paste URLs or clipboard images.

Or, click Select files.
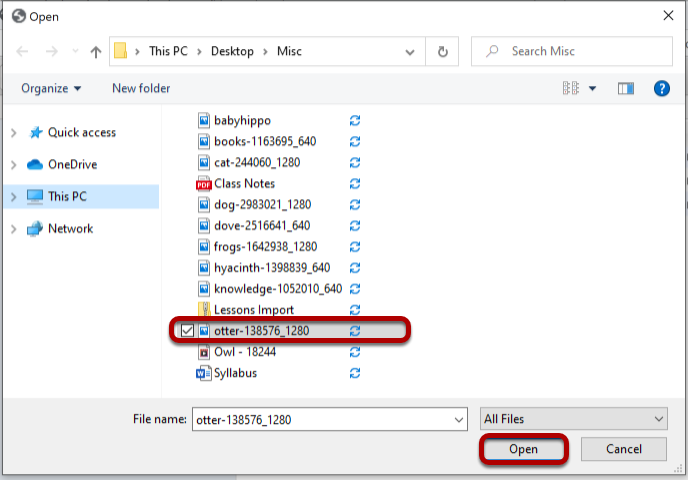
This displays an upload file dialog box.
Locate and select the image file on your computer, then click Open
Click OK.
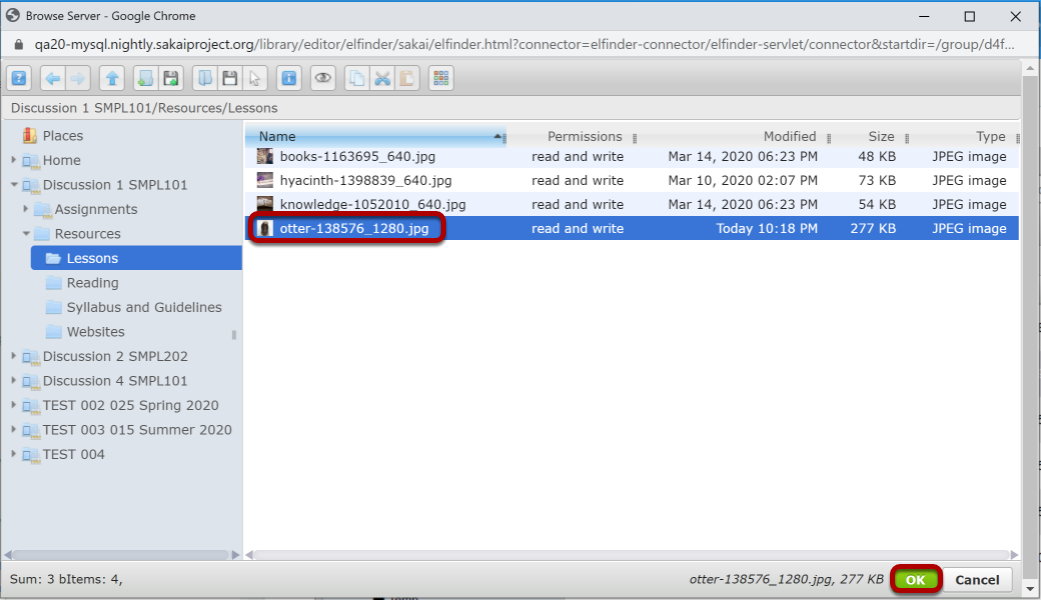
This returns the display to the file browser window. The uploaded file will be selected. Click OK to continue.
Modify image properties (Optonial)
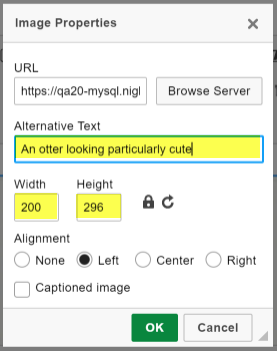
Adjust the image width and height if needed and add an alternative text for screen readers.
Set the Alignment.
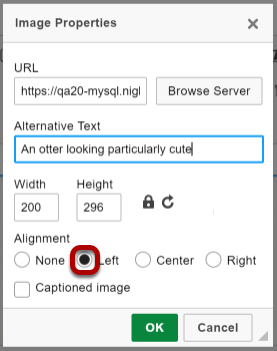
Set the Alighnment (left or right) for the image if you want to surround the image with text.
Click OK.

This returns the display to the text box with the embedded image.
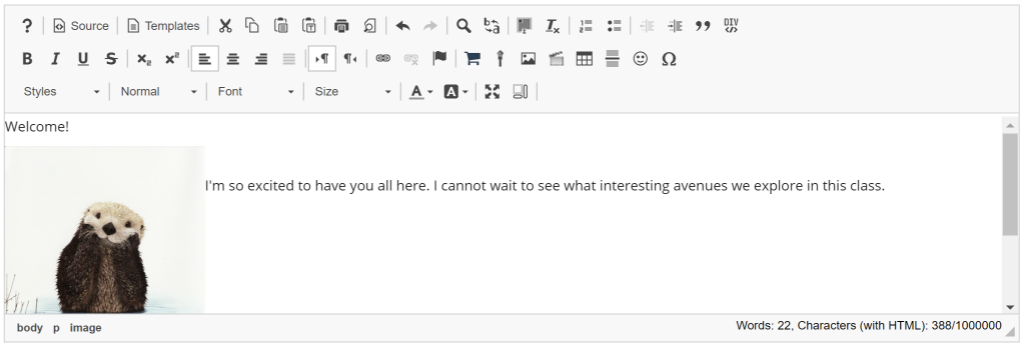
Example of additional text displayed next to a left-aligned image.