iLearn Documentation: Best Practices for Using the My Profile Tool
Overview
My Profile tool offers a rich interface for managing your personal academic profile. Students and instructors can post status updates, find people with common academic and personal interests, and create academic networks. The tool also contains a comprehensive set of privacy controls.
Steps for Using the My Profile Tool
Step 1: Access your profile
Method 1: Log into iLearn and click on Home. In the navigation bar on the left side of your screen, click Profile. At this point you will be able to create and edit the information listed in your profile.
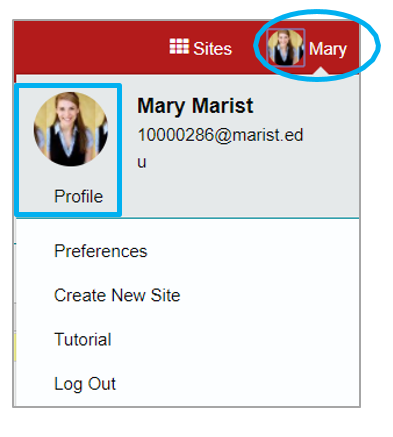
Method 2: Log into iLearn and click your profile picture on the top right corner and then click the profile picture or the Profile text link.
Step 2: Create and Edit your profile
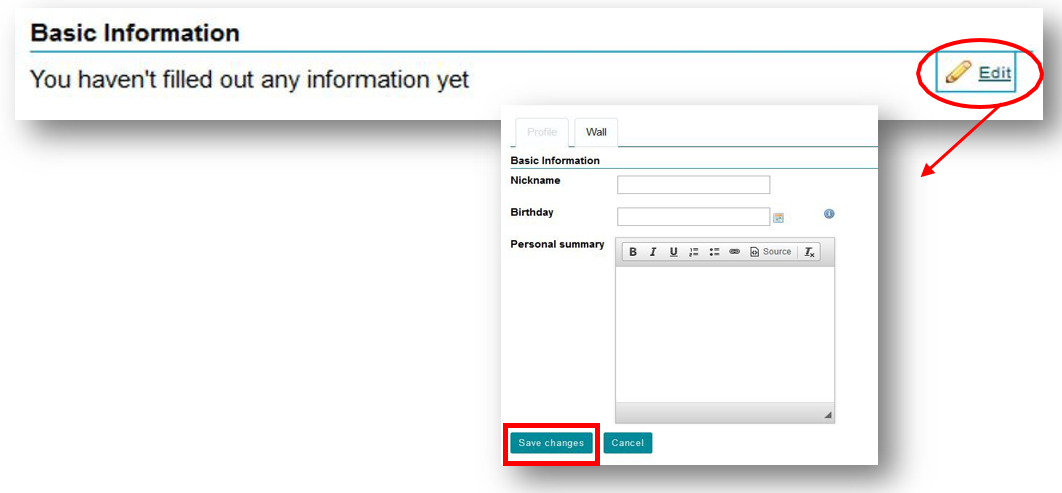
Fields in the profile tool have been broken into several areas: basic information, contact information, academic information, and personal information.
Scroll over any of the sections you wish to edit. An Edit button will appear. Select the Edit button and fill in the in desired information.
This includes a nickname, a birthday, and a personal summary.
When you finish, click Save Changes.
Step 3: Changing or adding a profile picture
To change the profile picture, scroll over the profile picture, and a Change Picture selection will appear. When you click Change Picture, a Choose File button will appear below the picture.
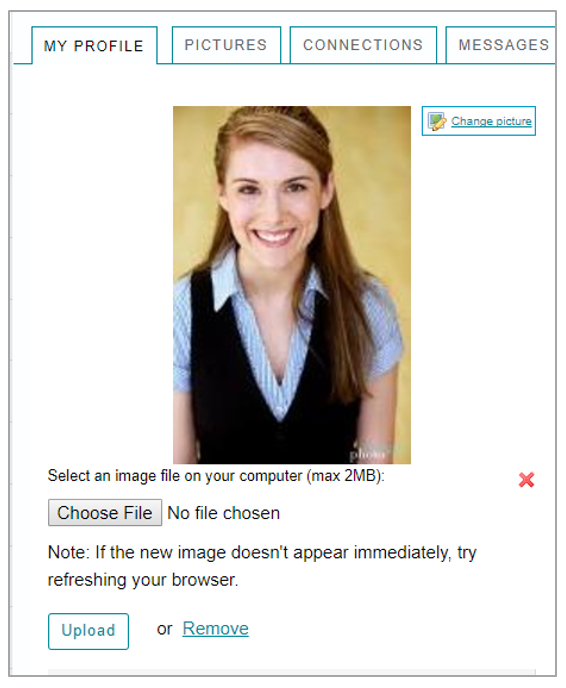
Once clicked, a file browser window will open. Locate and open your preferred profile picture from your computer. Then click Upload.
To upload other pictures, select Pictures from the top menu. Click Choose File from the Add Picture area and select Upload chosen file.
NOTE: The Pictures space is NOT the same space you store your profile picture.
Step 4: Your Connections, Privacy, and Preferences
Along the My Profile toolbar there are buttons for viewing your connections, privacy and preferences, along with a search button to locate new connections.

Clicking the Connections button will list your current connections and allow you to view your connection requests.
-
To confirm another’s request, select the green icon
 next to their name
 -
To ignore the requests, select the red icon
 next to their name.
The Search button allows you to locate people by name, email address or shared interest.
-
To search by name or email, type in the person’s name and click the Search by Name or email button.
-
Locate the proper person from the results displayed and click the Add as a connection button. Select again to verify that connection.
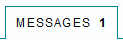
When a message is received from a connection, a number will appear on the Messages button.
-
To read the email, click the subject line. Reply to the message by typing in the reply box.
-
Create a message by clicking Compose, filling in the Recipient, Subject, and Message.